Monday, August 26, 2013

Paper Trey Ink Stamp Affaire Challenges 1 - 5


This is the third year my sister and I have attended a PaperTrey Ink Stamp Affair event.  The first year was a limited ticket event that we attended in Cincinnati.  That was such a huge hit that it was determined the following events would be online where people could do the projects either in groups hosted by someone or just at home in their own crafting environment.  This year my sister hosted an event and it was attended by me and three other ladies from the Dallas Fort Worth area.  The drive for all of us was a little less than two hours one way but we all agreed it was WELL worth the effort.  Kudos to Joy for hosting such a fun time.  There were 10 challenges and I will be posting this in two parts so that it won't be 10 individual posts or one loooonnnnnggg post.  Hope you all enjoy !!

The first challenge was a breakfast make and take where we were given sketches and color schemes and we chose from among those 9.  Here's my take on the challenge.  I stamped and hand cut the "Smile" sentiment and placed at the bottom of the flower stems cos I goofed up on stamping in that area.  Great coverup!  http://nicholeheady.typepad.com/capture_the_moment/2013/08/stamp-a-faire-opening-ceremony-and-breakfast-bake-take.html


The second challenge was to create a tea stained project.  My sister and I decided to do the flower that one of the designers completed and this is my project.  I will be hot gluing a pin on the back and either gift it to someone or wear it myself on a brown sweater that I have.    http://nicholeheady.typepad.com/capture_the_moment/2013/08/stamp-a-faire-2013-tea-staining-techniques.html


The third challenge was to use paper clay.  It's like modeling clay only it dries to have the consistency of coaster board or thin chipboard.  I had a bit of a difficult time with this because I didn't roll the clay thin enough and it wasn't totally dry.  I did salvage enough to make the three buttons on this card.  I stamped them with a PTI stamp and ink and loved the way they turned out.  I will be trying the technique again and now that I have done it once, I'm hoping the second time will be easier.   http://nicholeheady.typepad.com/capture_the_moment/2013/08/stamp-a-faire-2013-rolled-dough-designs.html


The fourth challenge was to use misting inks to make a colored paper.  This is my entry... now I know the embossing was a little goofed up in the middle and I may have sprayed it a little too much but I really like the technique and will definitely be trying it again.   http://nicholeheady.typepad.com/capture_the_moment/2013/08/stamp-a-faire-2013-mixing-mists-to-match.html


The fifth challenge was to use one of two types of salt techniques.  I had never used either but this is yet another technique I will try again.  I used a lot of water on mine but it ended up looking like a plaid and I really liked it.  I use a stamp set that came with our kits to do the sentiment and leaves.    http://nicholeheady.typepad.com/capture_the_moment/2013/08/stamp-a-faire-2013-sprinkle-of-salt.html
 
 
Stay tuned for Part Two!!

Friday, August 23, 2013

Baby card for sweet niece

I made this card for my sweet niece who just had her first baby... a sweet, healthy little girl.  The paper is from Kaiserkraft and is called Bundle of Joy-Baby Girl, using the 6 1/2 x 6 1/2  paper pad.  The shoes were cut from the Cricut cartridge Kate's ABCs.  The sentiment on the inside is computer generated and the rattle is from the Cricut cartridge New Arrival.  I lined the envelope with one of the sheets from the paper pack, too and the little feet stickers are from the 12 x 12 paper pad.


Tuesday, August 13, 2013

Thank you Angiespaperpassion !!

I would like to thank TiffysMom/Angela for the blog candy she sent me from a recent blog hop where winners were chosen from comments posted during the hop http://angiespaperpassio...crawlred-white-blue.html

My prize was an Anna Griffin embossing folder, which I was very excited to win because I don't have any of the AG embossing folders. But, much to my amazement, Angela also sent a bunch of other wonderful surprises. Thank you Angela/TiffysMom!!


Saturday, August 3, 2013

Bus Card

I have been following a blog http://www.technomadia.com/ and have really enjoyed the posts from this couple.  Not only are they young, hip and smart (very), they are FUN.  They are doing what so many people wish they could do...live on the road in a bus (or rv).  But recently they ran into a huge challenge with a very $erious engine problem and have been awaiting repairs in Billings, Montana. Sure glad this is summer and not winter!!  So... I've done a card in anticipation of their impending departure and joyous rejoining the road!  I will email them the link to this post once they hit the road again, hopefully by early next week.

The bus was done using Art Deco...I did numerous layers and tried very hard to capture the colors of their bus, Zephyr.  I used Design Studio to place two shadows of the bus shape, flip one and weld them to make the card base. This was very hard to photograph as the silver shiny paper kept reflecting my image and the colors I am wearing!  I also could not get a small enough "GM" to cut out, so I ended up having to use a silver pen.  The sentiment inside the card was computer generated and the "Wahoo!" is from the cartridge Old West.  I'm showing a picture of the card and then a picture of their bus.  I am also entering this into the Fantabulous Cricut Challenge #171-Shaped Cards at http://fantabulouscricut.blogspot.com/2013/07/challenge-171-shape-card.html


Tuesday, July 30, 2013

Watermelon Card

I did this card after seeing Sheila do one at http://shesasassylady.blogspot.com/2012/06/gypsy-made-simple-making-shape-card.html and I just loved it.  Sheila used her gypsy to make the card base but I used the trusty old Design Studio.  She used some stickers that were a little dimensional and glittery for the watermelon seeds.  I didn't have those and didn't have time to run by Hobby Lobby so I thought about using some of those acrylic tear drops..only had clear ones but they look great if you color the bottom of them with bic markers.  Anyway, that added a lot of bulk to the card and it's going to a crafting friend in Canada (extra postage, don't ya know).  So I ended up cutting rain drops from the Simply Charmed cartridge out of a metallic black paper.  I think it ended up looking pretty good.  Maybe too many seeds but I sometimes overdo the details. :o)

Thursday, July 25, 2013

Card for a sick little girl

My sweet friend Melissa Cash mentioned this on her facebook account http://abclocal.go.com/kfsn/story?section=news%2Flocal&id=9176728 and I wanted to do a card for little Emma (that's my granddaughter's name, too, so this kinda got to me).  What little girl doesn't like Hello Kitty?  So I did the balloon card and layers at 5 inches but when it cut out, it looked really small and kind of frail.  So I did two shadow layers...the black one at 5 inches, the white one at 4 1/2 inches (had to trim the white one a little to get it to fit) as backing for the little image.  Here's how it turned out.  It's things like this that make one realize how lucky and  blessed they are to have one's health and to have children and grandchildren who don't have these battles to face.  The "HI" is cut from Sentimentals in Design Studio and shrunk to less than 1" in order to fit on the balloon.  I also stamped "HappyBirthday" on the inside after I took the picture


Thursday, July 18, 2013

Maine Mini Album

This may be a long post so I ask for your patience....  I recently saw this cute, cute little, little mini album made using 2 1/4 x 3 1/2 coin envelopes by the fabulous Mary at CardzTv and here are the links to the instructions:  http://cardztv.blogspot.com/2013/07/how-to-itty-bitty-mini-album-part-one.html and http://cardztv.blogspot.com/2013/07/how-to-itty-bitty-mini-album-part-2.html .  I knew I HAD to do one of these for my sweet sister.   I went to Staples to get some coin envelopes but the smallest box they sell was 100 of them.  You only use 2 per mini album so that would be enough for 50??  I might need 8 or 10 but not 50!!  So I went home and went through almost 400 images of envelopes (thank you mycutsearch.com ) and found several that I thought would work well.  There were lots of the right kind of envelope but they sealed on the sides and due to the stress I figured the album might get, I knew it needed to be an envelope that sealed in the middle.  I ended up using the envelope from CTMH Artiste on page 33.  It has a little "dip" on the backside of the envelope and doesn't go straight across like Mary's did so I did not use the little half circle punch on it.  But you will need to use adhesive very close to the edge of the rounded area so that your little tab inserts don't get stuck.  I did a little half-hole on the mat only.  Because of the size, I used Design Studio to manipulate the size to 2 1/4 x 3 1/2 but you wouldn't have to do that... you could just use whatever size you tell your machine to cut.  This is the cut but not taped envelope.  Hope this helps...


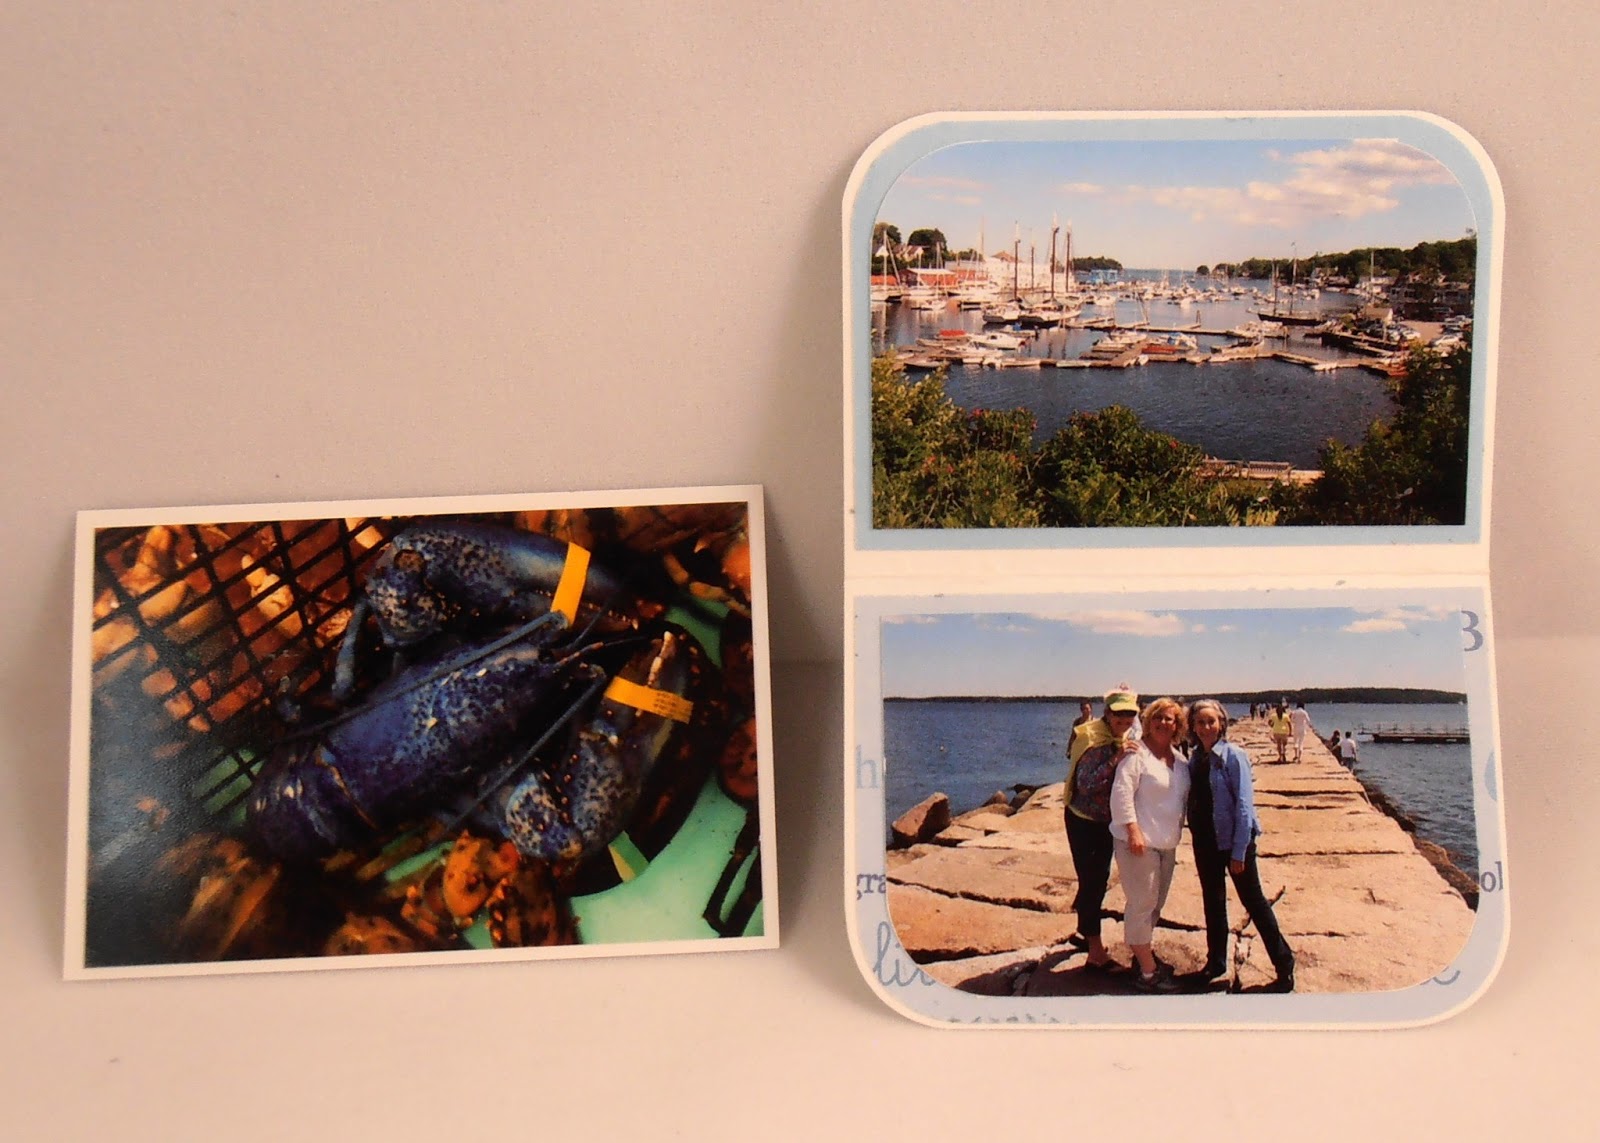
This is the outside of the album held together with a small bit of ribbon.  I stuffed it a little more than I should have but I took 1600 pictures on this trip and it was a killer to choose just a few.  I put a small circle of blue beads and a lighthouse charm from my stash on the tie, just to dress it up a little.  I plan on doing one for each of the ladies who went on the trip but will use some of the same pics, some different.  I have Picasa as my web-based photo storage so I just ordered wallet size photos through Wal-Mart.  They have to do two of each (can't do only one due to the size) and I did a lot of cropping to get the pictures to fit but it was so much fun!!  I used white paper to back the photos but since the photos on the inserts of the little pockets were so small, I did not mat those. 


This is the album with the ribbon off

This is the top layer, flipped up with the little inserts in the pocket
 
And this is the album with the little inserts out

These are the inserts for this part--first the front, then the backside


Open up the mini and this is the center.  I used the Don Juan Cricut cartridge for the letters and welded them in Design Studio.   First with the tri fold closed, then with it open:


And this is the backside of the mini album

This is the backside flipped up with the inserts and then without the inserts:

 
Here's the inserts front side and then back side: 

 
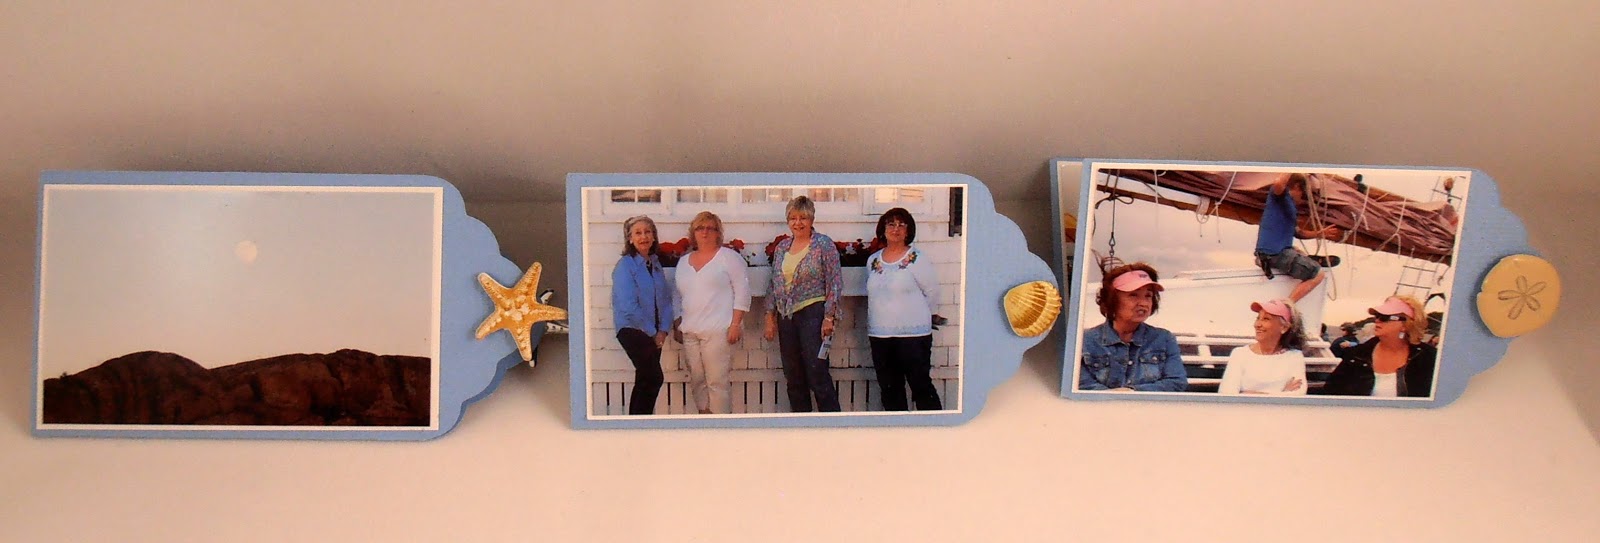
I used Tags, Bags Boxes and More for the double sided tags.  Mary shows how to do two of these for the coin envelope mini but I had to do three... one is just loose and not inserted into a slot.  These pics are the front side, the middle and the outside.  I broke off the prongs on some seashell brads and attached to the tabs with pop dots to help pull them out easier.  I just had so many favorite pics that I had to do three tabs!!!!


I will be entering this mini album on the Fantabulous Cricut blog challenge #169 at http://fantabulouscricut.blogspot.com/2013/07/challenge-169-set-scene.html
 
And here's the box I put it in.  The sentiment is a stamp from Impression Obsession and the Seaglass cutout is the label from a wine bottle.  I scanned it, had a wallet size photo made of it and cut it out.
ADDENDUM:
After submitting my project, I had a "DUH" moment... instead of using a cut out from the scrapbook paper of the state of Maine, I should have used my 50 States Cartridge!  I did the state and shadow at 3 3/4 inches then another shadow at 3 7/8 inches.  I did the Maine at 1" but shrank it in Design Studio to very small (don't even know the size) and also shrank the shadow, too.  I like how this looks so the other two mini albums that I do will have the cricut cut out for the state of Maine and wording.


THE END!!!   FINALLY!!!!   :o)

Monday, July 1, 2013

4th of July card

Here's a card I made awhile ago for my sisters.  I used Cricut Stand and Salute cartridge.  The frame is on page 68 which was manipulated and stretched in Design studio.  The fireworks are from page 50.  Since I didn't have any glitter paper, I used a gel glitter pen for the fireworks.  The doodles are done with a Signo white pen and the fireworks were pop dotted once the mat was put on the blue paper.


Hope everyone has a wonderful, safe and sane 4th of July.  May we always remember what the holiday is truly about.  I celebrate this holiday for many reasons, one of which is the service of my Father in the Army-Pacific Campaign during WWII and my Grandson who was given a medical discharge from the Marines after obtaining the rank of Lance Corporal.  He truly grieves not being in the Corps but Once a Marine, Always a Marine.  He is currently a pre-med student and doing well.  Below is a picture of him at home shortly after completing boot camp and the Crucible.  Thanks to all those who have served!!


Gone for awhile...

I have been so busy lately.  Went to a fantastic stamp event in California (to post pics later), then to Yosemite, home awhile, then to the Scrapbooking event in Arlington, Tx, then to Maine for 12 fabulous days.  I have had little time to craft but will be posting some things soon