
This is the outside of the album held together with a small bit of ribbon. I stuffed it a little more than I should have but I took 1600 pictures on this trip and it was a killer to choose just a few. I put a small circle of blue beads and a lighthouse charm from my stash on the tie, just to dress it up a little. I plan on doing one for each of the ladies who went on the trip but will use some of the same pics, some different. I have Picasa as my web-based photo storage so I just ordered wallet size photos through Wal-Mart. They have to do two of each (can't do only one due to the size) and I did a lot of cropping to get the pictures to fit but it was so much fun!! I used white paper to back the photos but since the photos on the inserts of the little pockets were so small, I did not mat those.

This is the album with the ribbon off

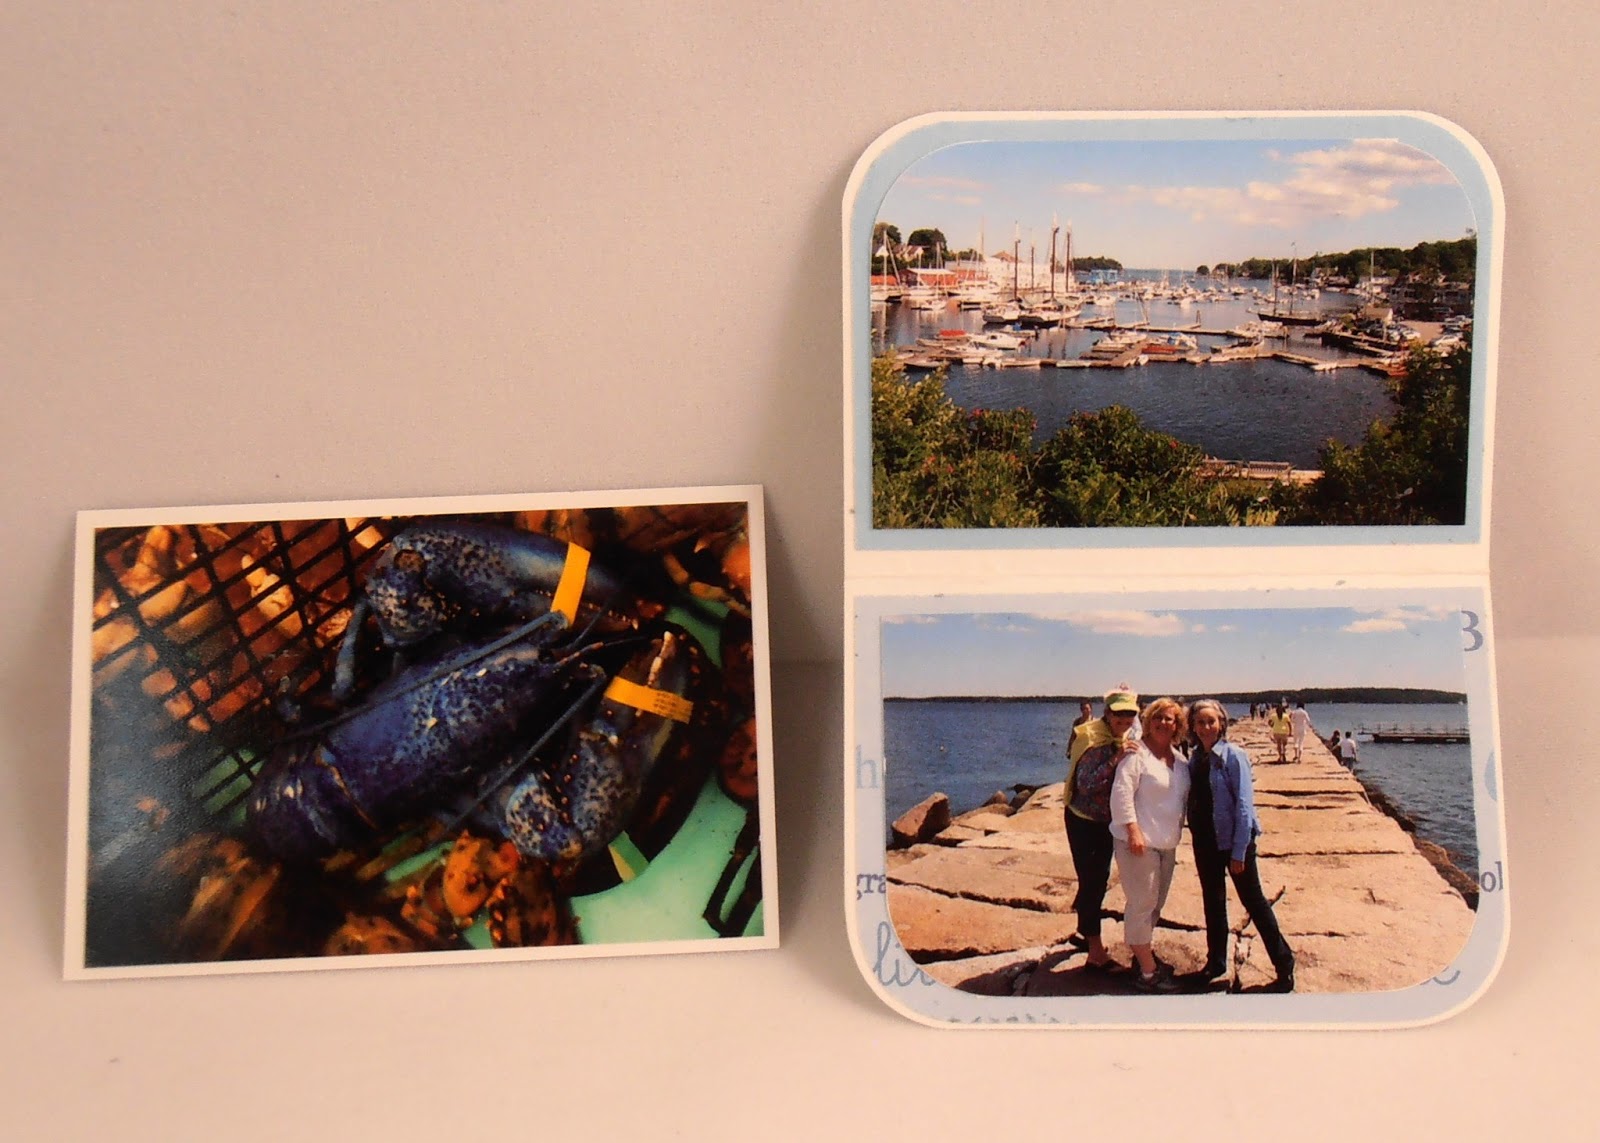
This is the top layer, flipped up with the little inserts in the pocket

And this is the album with the little inserts out

These are the inserts for this part--first the front, then the backside


Open up the mini and this is the center. I used the Don Juan Cricut cartridge for the letters and welded them in Design Studio. First with the tri fold closed, then with it open:


And this is the backside of the mini album

This is the backside flipped up with the inserts and then without the inserts:


Here's the inserts front side and then back side:

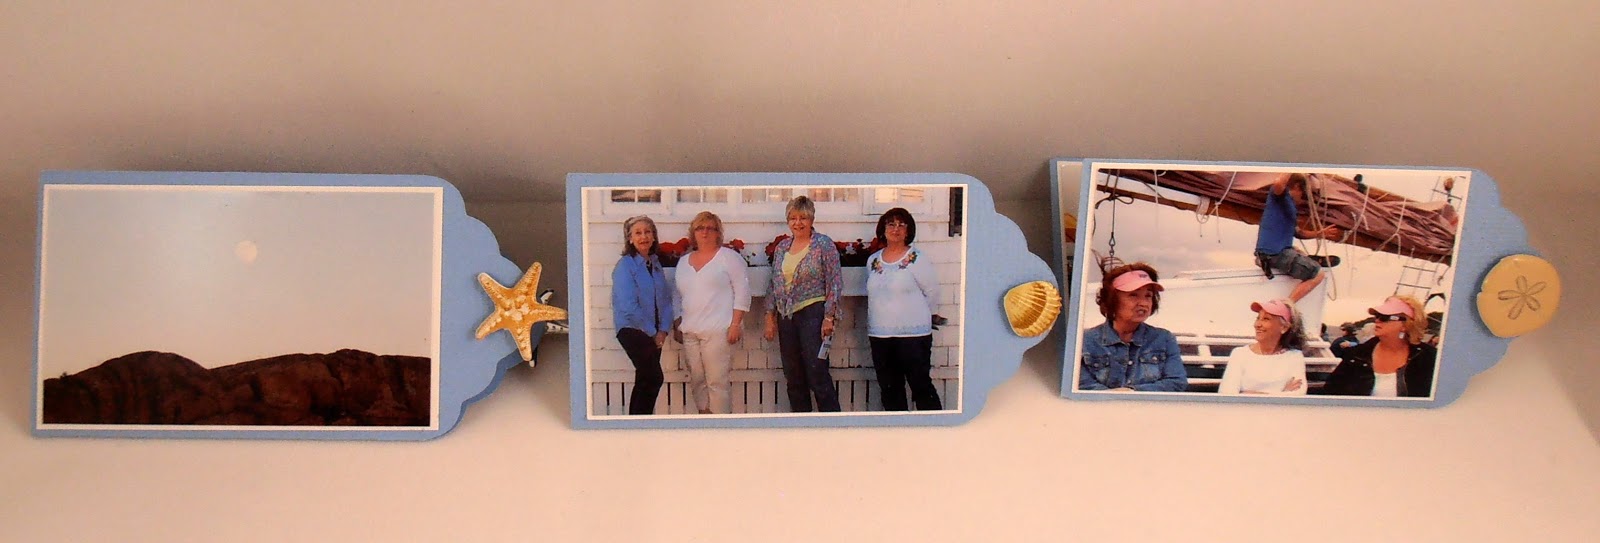
I used Tags, Bags Boxes and More for the double sided tags. Mary shows how to do two of these for the coin envelope mini but I had to do three... one is just loose and not inserted into a slot. These pics are the front side, the middle and the outside. I broke off the prongs on some seashell brads and attached to the tabs with pop dots to help pull them out easier. I just had so many favorite pics that I had to do three tabs!!!!


I will be entering this mini album on the Fantabulous Cricut blog challenge #169 at http://fantabulouscricut.blogspot.com/2013/07/challenge-169-set-scene.html
And here's the box I put it in. The sentiment is a stamp from Impression Obsession and the Seaglass cutout is the label from a wine bottle. I scanned it, had a wallet size photo made of it and cut it out.

ADDENDUM:
After submitting my project, I had a "DUH" moment... instead of using a cut out from the scrapbook paper of the state of Maine, I should have used my 50 States Cartridge! I did the state and shadow at 3 3/4 inches then another shadow at 3 7/8 inches. I did the Maine at 1" but shrank it in Design Studio to very small (don't even know the size) and also shrank the shadow, too. I like how this looks so the other two mini albums that I do will have the cricut cut out for the state of Maine and wording.


THE END!!! FINALLY!!!! :o)
Oh, my goodness, your little album is fabulous! Thank you for creating it from a Cricut cut!! It is amazing how many pictures you put into this tiny album! Great job!
ReplyDeleteWonderful mini. I love making them myself. You really got a lot of pictures into that little mini. Thanks for entering the challenge this week at FCCB. kim Ogden
ReplyDeleteFabulous mini!! You fit so many pictures in it and I love the little details like the star fish and the lighthouse charm. Thanks for joining the scene challenge at FCCB!!
ReplyDeleteThis is so wonderful! I'm amazed by how much it holds. Thank you for joining us this week at FCCB!
ReplyDeleteThank u sweet sister, I love my book and can hardly believe the detail! You are so talented and pay so much attention to detail- this is an incredible book!
ReplyDeleteI love this. Thanks for playing with us at FCCB.
ReplyDeleteYour mini album is phenomenal!! What incredible detail...the seashells were perfect on the tags, great photos...I love everything about this fantastic little itty bitty mini! Thank you so much for sharing it with us!!
ReplyDeleteGood luck in the challenge!
Big hugs,
Mary